

Creating beautiful card designs with stamps can seem like a daunting task, especially for those new to the world of card making. However, with the right techniques and materials, anyone can unlock their creativity and produce stunning cards that showcase their unique style. In this beginner’s guide, we’ll explore the basics of card stamping, from choosing the perfect stamps and cardstock to mastering advanced techniques and tips for adding texture and depth to your designs.
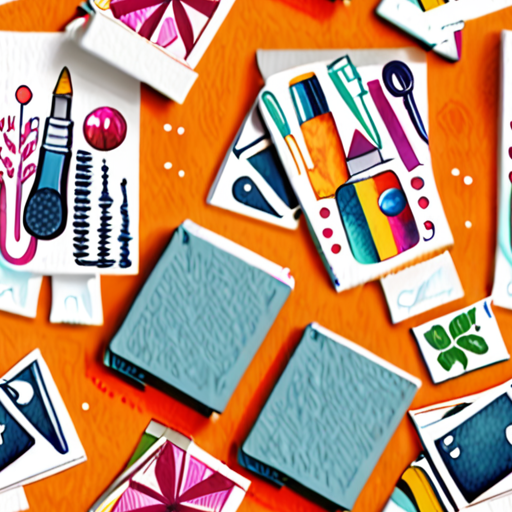
Designing Beautiful Cards
As a crafter and DIY enthusiast, I love experimenting with different techniques to create unique and personalized greeting cards. In this article, I’ll share my favorite methods for making beautiful designs on cards, along with some tips and tricks to get you started.
To begin, let’s explore the basics of card design. A great card starts with a solid foundation, which includes choosing the right paper, selecting a suitable color palette, and deciding on a theme or occasion.
Paper Selection
When it comes to paper selection, there are many options available, ranging from traditional cardstock to textured papers and specialty materials. Consider the look and feel you want to achieve, and choose a paper that complements your design.
Some popular paper options include:
- Cotton paper for a soft, textured look
- Cardstock for a sturdy, professional finish
- Watercolor paper for a delicate, water-inspired effect
- Specialty papers like metallic or glitter paper for added visual interest
Color Palette
A well-chosen color palette can elevate your card design and make it truly special. Consider the occasion, the recipient’s preferences, and the overall mood you want to convey when selecting colors.
Some popular color palettes include:
- Monochromatic for a clean, sophisticated look
- Analogous for a harmonious, soothing effect
- Complementary for a bold, eye-catching contrast
- Split-complementary for a dynamic, energetic vibe
Theme and Occasion
The theme and occasion of your card will greatly influence your design choices. Consider the recipient’s interests, hobbies, or personality traits when selecting a theme or occasion-specific design element.
Some popular themes and occasions include:
- Birthday celebrations with bright colors and playful patterns
- Holiday greetings with festive colors and seasonal motifs
- Get-well wishes with calming colors and soothing patterns
- Thank-you notes with warm colors and heartfelt messages
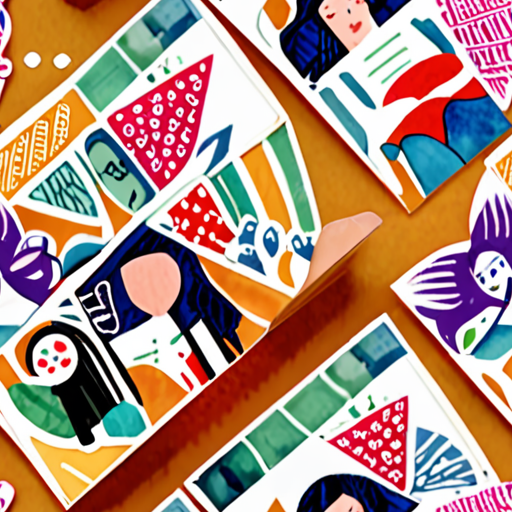
Design Techniques
Now that we’ve covered the basics, let’s dive into some fun design techniques to enhance your card creations. From stamping and stenciling to embossing and die-cutting, these methods will add texture, dimension, and visual interest to your designs.
Some popular design techniques include:
- Stamping with custom or pre-made stamps for intricate details
- Stenciling with masks or templates for crisp, clean lines
- Embossing with heat tools or dies for raised, three-dimensional effects
- Die-cutting with machines or scissors for precise, intricate cuts
Finishing Touches
Once you’ve completed your design, it’s time to add the finishing touches. Consider adding embellishments like ribbons, bows, or flowers to give your card a personal touch.
Some popular embellishment options include:
- Ribbons and bows for a classic, elegant look
- Flowers and greenery for a whimsical, garden-inspired feel
- Buttons and beads for a playful, eclectic vibe
- Glitter and rhinestones for a sparkly, celebratory atmosphere
By incorporating these design techniques and tips into your card-making process, you’ll be well on your way to creating stunning, one-of-a-kind cards that showcase your creativity and personality. Happy crafting!
Postage Requirements for Heavy Greeting Cards
I’m often asked how much postage I’ll need for my cards.
- For cards weighing up to 1 ounce, the cost is $0.73.
- Between 1 and 2 ounces, the cost increases to $1.01.
- Between 2 and 3 ounces, the cost rises to $1.29.
- Between 3 and 35 ounces, the cost jumps to $1.57.
Sweet Pea Stamps offers a variety of creative resources and community hubs dedicated to inspiring crafters, DIY enthusiasts, and stamp collectors.
Other popular options for crafting supplies include Hobby Lobby and Michaels .
When choosing the right postage for your heavy greeting cards, consider the weight and size of the item, as well as any additional services you may need, such as tracking or insurance.
As a crafter, I always recommend checking the USPS website for the most up-to-date pricing and guidelines.
By following these simple steps, you can ensure that your heavy greeting cards arrive safely and efficiently at their destination.
At Sweet Pea Stamps, we’re committed to helping you find the perfect crafting supplies and resources to bring your creative vision to life.
Whether you’re a seasoned crafter or just starting out, our community is here to support and inspire you every step of the way.
So why wait? Start exploring our collection of stamps, dies, and other crafting supplies today!
What is Card Stamping?
Card stamping is a fun and creative technique used to add designs, patterns, and textures to cards, scrapbook pages, and other paper crafts. It involves applying ink to a clear stamp or rubber stamp and then transferring the image onto a surface, typically paper or cardstock. This process allows artists to add visual interest and personality to their creations.
Basic Stamping Supplies
To get started with card stamping, you’ll need a few essential supplies:
- Clear stamps or rubber stamps
- Ink pads or refillable ink containers
- A surface to stamp on, such as paper or cardstock
- A tool to apply pressure, such as a brayer or a sponge
The Art of Card Stamping
Card stamping is a versatile technique that can be used to create a wide range of effects, from subtle backgrounds to bold, eye-catching images. By experimenting with different stamp designs, ink colors, and techniques, artists can achieve unique and personalized results.
Tips and Tricks
To take your card stamping skills to the next level, try these tips and tricks:
- Experiment with different ink colors and combinations to achieve unique hues and shades.
- Use a variety of stamp sizes and shapes to add texture and interest to your designs.
- Try layering stamps to create intricate, multi-colored patterns.
- Don’t be afraid to mix media – combine stamping with other techniques, such as embossing or die-cutting, to add depth and dimension to your creations.
Getting Started with Sweet Pea Stamps
At Sweet Pea Stamps, we’re passionate about helping artists unlock their creativity and bring their visions to life. Our collection of high-quality stamps and accessories is designed to inspire and empower crafters of all skill levels. Whether you’re a seasoned pro or just starting out, our products and resources are here to help you take your card stamping skills to new heights.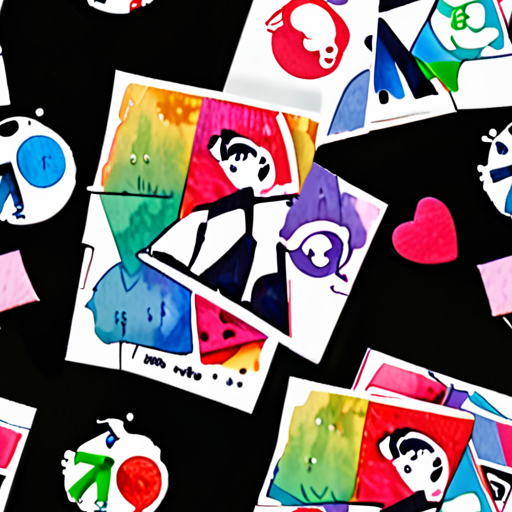
How Many Stamps Do I Need to Put on My Card?
To determine how many stamps you need to put on your card, consider the size and weight of the envelope, as well as the destination address.
-
Regular-Sized Envelopes
For a standard-sized envelope with a greeting card, one USA Forever Stamp is usually sufficient for domestic mail.
However, if the envelope is slightly larger or heavier, you may need to add an extra stamp or two, depending on the postal service’s guidelines.
-
Larger Envelopes
If you’re sending a larger or heavier envelope, you’ll likely need to use additional postage.
Check the envelope for a notation indicating the required postage, which can be found in the upper-right corner of the envelope.
-
International Mail
When sending international mail, the number of stamps needed depends on the country’s postal rates and regulations.
Research the destination country’s postal requirements to ensure you have the correct postage.
Remember to always check with your local post office or visit their website for the most up-to-date information on postage rates and requirements.
As a general rule, it’s better to err on the side of caution and use additional postage rather than risking your mail being returned due to insufficient funds.
By following these guidelines, you can ensure your mail reaches its destination efficiently and effectively.
What Happens If You Don’t Put Enough Stamps On A Card?
The post office ensures that postage due is collected on underpaid items.
- A postal worker typically catches the underpaid item and returns it to the sender if there is a return address.
- If there is no return address, the mail usually goes through, and the recipient is responsible for paying the difference.
Sweet Pea Stamps understands the importance of correct postage, which is why we offer a variety of stamp options to suit your needs.
When sending a card, it’s essential to ensure that you have sufficient postage to avoid any issues with delivery.
- Check the weight and size of your card to determine the required postage.
- Select the correct stamp or combination of stamps to cover the cost.
- Make sure to affix the stamps correctly to avoid any delays or issues with delivery.
At Sweet Pea Stamps, we strive to provide our customers with the highest-quality stamps and excellent customer service.
Our team is always available to assist with any questions or concerns regarding postage or stamp selection.
We recommend checking with your local post office for the most up-to-date information on postage rates and regulations.
By following these simple steps, you can ensure that your cards arrive safely and efficiently, and that you avoid any potential issues with postage.
Remember, at Sweet Pea Stamps, we’re committed to helping you find the perfect stamps for your needs.
Contact us today to learn more about our stamp options and services.

Choosing Between One or Two Stamps
To determine whether you need one or two stamps, consider the size and complexity of your project.
- If you’re working on a small-scale project, such as a greeting card or a gift tag, one stamp might be sufficient.
- However, if you’re tackling a larger project, like a scrapbook page or a canvas art piece, you may require two stamps to achieve the desired design.
- Additionally, think about the level of detail and intricacy involved in your project. If you need to create intricate patterns or designs, two stamps can provide better control and precision.
- Lastly, consider the type of paper or material you’re working with. Thicker papers or materials may require more pressure, which could necessitate the use of two stamps.
Factors to Consider
When deciding between one or two stamps, keep the following factors in mind:
- Project size and complexity
- Type of paper or material
- Level of detail and intricacy required
- Desired design outcome
Best Practices for Using Multiple Stamps
If you decide to use two stamps, follow these best practices:
- Choose stamps with complementary designs or colors to create a cohesive look.
- Experiment with different stamp combinations to achieve the desired effect.
- Consider using a stamp positioning tool or a ruler to ensure precise placement.
- Don’t be afraid to experiment and try new things – it’s all part of the creative process!
Conclusion
In conclusion, choosing between one or two stamps depends on the specifics of your project. By considering the size, complexity, and requirements of your project, you can make an informed decision and achieve the desired outcome. Remember to follow best practices when using multiple stamps, and don’t hesitate to experiment and try new things – it’s all part of the creative journey!
0 Comments