Creating custom stamps has become increasingly popular among individuals and businesses looking to add a personal touch to their correspondence, packaging, and marketing materials. With the rise of digital technology, it’s now easier than ever to design and print high-quality custom stamps from the comfort of your own home or office. Whether you’re a seasoned graphic designer or a DIY enthusiast, learning how to create custom stamps can open up a world of creative possibilities and help you stand out in a crowded market.

Can You Create Custom Postage Stamps?
Yes, it is possible to create custom postage stamps with personal images.
- The United States Postal Service (USPS) allows individuals to design and purchase custom postage stamps from approved third-party vendors.
- Sweet Pea Stamps offers a variety of customization options for creating unique and personalized postage stamps.
Designing Custom Postage Stamps
To create custom postage stamps, you can use online tools and services offered by companies like PhotoStamps, PictureItPostage, and Zazzle.
- Select a template or design your own image using a photo editing software.
- Once your order is processed, you can use your custom postage stamps for mailing letters and packages.
Benefits of Custom Postage Stamps
Custom postage stamps offer several benefits, including:
- Personalization: You can create unique and personalized stamps with your name, initials, or favorite images.
- Convenience: Custom postage stamps save time and effort compared to traditional postage methods.
- Creativity: You can express your creativity and showcase your personality through custom designs.
Popular Uses for Custom Postage Stamps
Custom postage stamps are ideal for special occasions, such as:
- Birthdays and anniversaries
- Holidays and celebrations
- Weddings and graduations
- Business promotions and marketing campaigns
Get Started with Custom Postage Stamps Today!
Visit our website at Sweet Pea Stamps to explore our customization options and start creating your own unique postage stamps.
Creating Customized Stamps
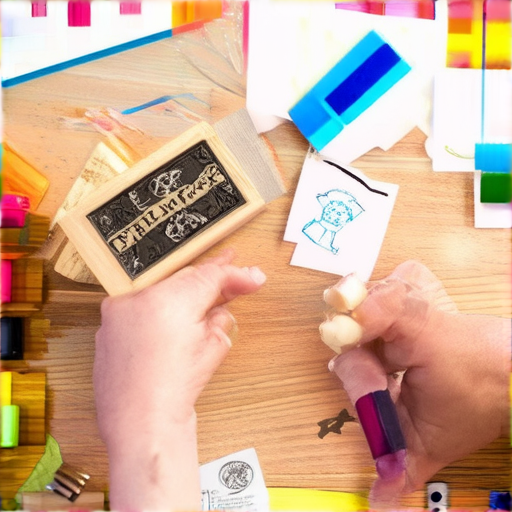
To make customized stamps, start by gathering materials such as rubber or acrylic sheets, ink pads, and a cutting tool.
- Design Your Stamp: Sketch out your design idea on paper or use a digital tool to create a template.
- Cut Out Your Design: Use scissors, a craft knife, or a laser cutter to cut out your design from the rubber or acrylic sheet.
- Add Ink Pads: Apply ink pads to your stamp, making sure to cover the entire surface evenly.
- Test Your Stamp: Test your stamp on a piece of scrap paper to ensure the ink is evenly distributed and the design is clear.
- Refine Your Design: Make any necessary adjustments to your design before mass-producing your customized stamps.
Materials Needed:
- Rubber or acrylic sheets
- Ink pads
- Cutting tool (scissors, craft knife, or laser cutter)
- Paper or cardstock for testing
Tips and Variations:
- Experiment with Different Materials: Try using different types of rubber or acrylic sheets to achieve unique textures and effects.
- Add Additional Details: Incorporate additional details such as glitter, sequins, or embossing powder to give your stamps extra flair.
- Create a Series: Design a series of stamps with a cohesive theme or style to create a unique collection.
Benefits of Customized Stamps:
- Personalization: Create stamps that reflect your personal style or brand identity.
- Unique Designs: Experiment with unique designs and patterns to stand out from mass-produced stamps.
- Cost-Effective: Making your own customized stamps can be cost-effective compared to purchasing commercial stamps.

Make Your Own Custom Stamps
You can easily create your own custom stamps at home with just a few simple materials.
- Material to Carve: Choose a soft material like linoleum or foam sheets, which are perfect for carving custom designs.
- Something to Carve With: Use a sharp tool like a linocut knife or a craft knife to carve out your design.
- Design Your Stamp: Sketch out your design on paper or use a digital tool to create a template.
Step-by-Step Guide to Making Your Own Rubber Stamps
- Create a reverse image of your design on the material to carve.
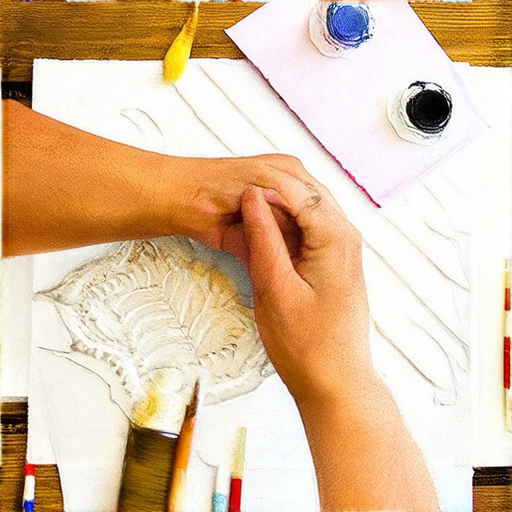
- Carve out the design carefully, making sure to remove excess material.
- Ink your stamp and test it on paper to see how it prints.
- Refine your design as needed and repeat the process until you’re satisfied with the result.
Tips and Variations
- Experiment with different materials and tools to create unique textures and effects.
- Add color to your stamps by using ink pads or paint.
- Create layered designs by stacking multiple stamps on top of each other.
Get Inspired by Other Crafters
Check out our community gallery to see what other crafters have created with our stamps.
Learn More About Crafting Techniques
Visit our blog for tips, tutorials, and inspiration on various crafting techniques.
Join Our Community
Connect with other crafters and share your creations on our social media channels.
Creating a Custom Stamp in PDF
To create a custom stamp in PDF, you can use Adobe Acrobat, which offers a variety of tools and features to help you design and apply custom stamps to your documents.
- Selecting a File: From the “All Tools” menu, select “View More,” then click on “Add a Stamp” and choose “Custom Stamps.” Next, browse to select a file you want to use as a stamp, and then click “OK.”
- Choosing the Right Page: If the selected file has multiple pages, scroll to the page you want to use as the stamp and click “OK.”
- Designing Your Stamp: Once you have chosen the file and page, you can start designing your custom stamp. Use the various tools and features available in Adobe Acrobat to customize the appearance of your stamp, including adding text, images, and shapes.
- Applying the Stamp: After designing your custom stamp, you can apply it to your PDF document by clicking on the “Apply” button. You can also save your custom stamp for future use by clicking on the “Save As” button.
Alternatively, you can also use other software programs, such as Adobe Acrobat Pro or PDF-XChange Editor, to create custom stamps in PDF.
When creating a custom stamp, it’s essential to consider the size, resolution, and color mode of your image to ensure that it looks professional and high-quality. You can also experiment with different font styles, sizes, and colors to make your stamp stand out.
By following these steps and tips, you can create a custom stamp in PDF that meets your needs and adds a personal touch to your documents.
Designing and Printing Your Own Custom Rubber Stamps from Scratch
At Sweet Pea Stamps, we’re passionate about empowering crafters and DIY enthusiasts to bring their unique ideas to life. In this comprehensive guide, we’ll walk you through the steps involved in designing and printing your own custom rubber stamps from scratch.
Step 1: Plan Your Design
- Determine the size and shape of your stamp based on your intended use and design requirements.
- Sketch out your design concept, considering factors like symmetry, balance, and visual appeal.
- Refine your design using digital tools or traditional drawing methods, taking care to ensure crisp lines and precise details.
Step 2: Prepare Your Design Files
- Create a high-resolution image file (.png or.jpg) of your design, ensuring it meets the recommended resolution for rubber stamp production.
- Save your design file in a suitable format for cutting and etching, such as SVG or DXF.
- Export your design files in the required format for printing, typically PDF or JPEG.
Step 3: Choose Your Materials
- Select a suitable material for your stamp, such as soft-touch rubber or photopolymer plates.
- Purchase a rubber stamp kit or individual components, depending on your design needs and budget.
- Acquire any necessary tools, like a cutting mat, craft knife, or laser cutter.
Step 4: Cut Out Your Stamp
- Use a craft knife, scissors, or a laser cutter to carefully cut out your design from the chosen material.
- Ensure clean edges and smooth surfaces for optimal stamp performance.
- Trim excess material and deburr the edges to prevent ink buildup.
Step 5: Etch Your Stamp
- Apply a layer of etching solution to your stamp, following the manufacturer’s instructions.
- Expose the stamp to light, allowing the etching process to take place.
- Rinse and dry your stamp thoroughly to remove excess etching solution.
Step 6: Assemble and Test Your Stamp
- Assemble your stamp according to the manufacturer’s guidelines, if applicable.
- Test your stamp on paper or cardstock to ensure proper ink transfer and image quality.
- Make any necessary adjustments to your design or stamp assembly before finalizing your product.
Step 7: Print and Enjoy Your Custom Rubber Stamp
- Load your stamp onto a printing press or use a manual stamping technique.
- Ink your stamp and apply it to your desired surface, such as paper, fabric, or wood.
- Experiment with different ink colors, textures, and techniques to achieve unique effects.
Additional Tips and Resources:
For more information on designing and printing custom rubber stamps, visit our design your stamp page or explore our tutorials section for step-by-step guides and video tutorials.
Remember to always follow safety precautions when working with materials and tools, and happy crafting!

Essential Materials and Tools Needed to Design and Print Professional-Looking Custom Stamps
To create stunning custom stamps, you’ll need the right materials and tools. At Sweet Pea Stamps, we’ve curated a list of essentials to get you started.
- Stamp Making Software: Invest in a reliable software program like Adobe Illustrator or Inkscape to design your custom stamps. These programs offer a range of features and tools to help you create intricate designs and patterns.
- High-Quality Ink: Choose a premium ink set specifically designed for stamp printing. Look for ink sets that offer vibrant colors and excellent durability.
- Stamp Printing Plates: Select high-quality plates made from durable materials like stainless steel or ceramic. These plates will ensure crisp, clear prints every time.
- Stamp Handles: Invest in comfortable, ergonomic handles that fit comfortably in your hand. This will reduce fatigue and make stamping easier.
- Stamp Cleaning Solutions: Keep your stamps clean and well-maintained with specialized cleaning solutions. Regular cleaning will extend the life of your stamps and prevent damage.
Competitor Insights:
We’re aware of several competitors in the market, including Stampington & Company and Art Impressions. While these companies offer high-quality products, we believe our materials and tools stand out due to their exceptional durability and versatility.
- Stampington & Company: Known for their extensive range of stamp-making supplies, Stampington & Company offers a variety of ink sets and stamp plates. However, their products may lack the precision and quality found in our own offerings.
- Art Impressions: Art Impressions provides a range of stamp-making tools, including software and ink sets. While their products are decent, they often fall short in terms of durability and overall performance.
Tips for Success:
To achieve professional-looking custom stamps, remember to:
- Invest in high-quality materials and tools.
- Choose the right software for designing your stamps.
- Clean and maintain your stamps regularly.
- Experiment with different ink sets and stamp plates to find the perfect combination for your needs.
By following these tips and using the right materials and tools, you’ll be well on your way to creating stunning custom stamps that exceed your expectations.


0 Comments