

Creating beautiful cards can be a fun and rewarding experience for people of all ages, from students looking for unique gift ideas to adults seeking elegant ways to express their sentiments. Whether you’re a seasoned crafter or just starting out, mastering simple card making ideas can elevate your skills and bring joy to those who receive your creations. In this comprehensive guide, we’ll explore the fundamentals of card making, share creative techniques for adding dimension and depth, and provide inspiration for themed cards that cater to various occasions and interests.
Creating a Simple Card Step by Step
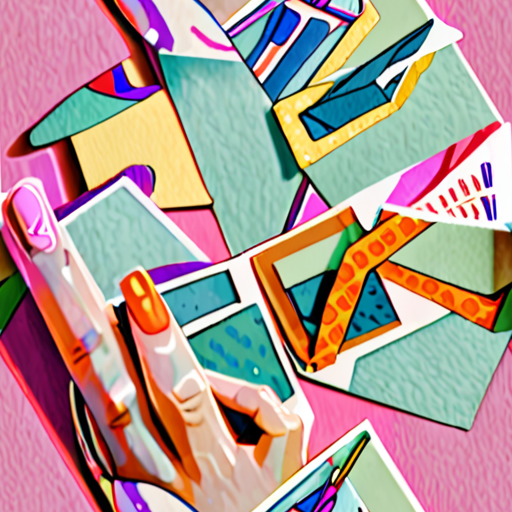
To make a beautiful handmade card, start by choosing a base card and folding the paper horizontally or vertically.
- For a standard A6-sized card, fold the paper in half lengthwise to create a crease in the middle.
- Next, open the paper and fold it in half widthwise, making sure the edges align perfectly.
- This will give you a crisp fold and help you create a clean edge.
Adding a Personal Touch
Now it’s time to add a personal touch to your card. Use your favorite writing utensil to write a phrase such as “Wishing You Well” or “Missing You” on the front of the card.
- Choose a font that reflects your personality and style.
- Make sure the handwriting is legible and easy to read.
- You can also add embellishments such as stickers or sequins to make the card more visually appealing.
Writing the Greeting
Once you’ve added the personal touch, it’s time to write the greeting on the inside of the card.
- Start by writing the recipient’s name and title, followed by a brief message.
- Keep the message concise and heartfelt, expressing your feelings and well-wishes.
- Don’t forget to sign your name and add a closing such as “With love” or “Best regards.”
Embellishing the Card
The final step is to embellish the card with ribbons, stickers, or other decorations.
- Choose materials that match the theme and style of the card.
- Add a ribbon or bow to the front of the card for a finishing touch.
- Consider adding a small gift or token inside the card for an extra-special surprise.
Tips and Variations
Remember, the most important thing is to have fun and be creative!
- Experiment with different folds, shapes, and sizes to create unique cards.
- Try using different materials such as paper, fabric, or even wood.
- Don’t be afraid to get messy and try new things – it’s all part of the process!
Getting Started with Card Making
As a beginner, I’m excited to share the basics of card making with you. With just a few essential tools, you can start creating beautiful cards for special occasions. Here are the three fundamental components you’ll need to get started:
- Stamps: A great place to begin is with high-quality stamps from reputable manufacturers like Sweet Pea Stamps . Their extensive collection offers a wide range of designs, from classic florals to modern geometric patterns.
- Ink: To bring your stamped images to life, you’ll need a variety of ink pads. Look for acid-free, archival-quality inks that won’t bleed or fade over time. Some popular options include Ranger Ink and Tsukineko .
- Paper: Choose a sturdy, smooth paper that can handle the weight of your stamps and ink. Consider investing in a paper pad specifically designed for card making, such as Hobby Lobby’s selection of cardstock and patterned papers.
Selecting the Right Tools
When selecting stamps, consider the occasion and recipient. For example, a birthday card might feature bright colors and playful designs, while a sympathy card would require more subdued tones. Experiment with different stamp combinations to find the perfect fit for your needs.
Tips for Beginners
To ensure your cards turn out beautifully, keep the following tips in mind:
- Start with simple designs and gradually experiment with more complex ones.
- Invest in a good quality cutting mat and scissors to prevent accidents and ensure clean cuts.
- Practice, practice, practice! The more you create, the more comfortable you’ll become with different techniques and materials.
Exploring Additional Resources
For inspiration and guidance, check out online communities like Splitcoast Stampersand Pinterest. These platforms offer a wealth of tutorials, tips, and ideas to help you take your card making skills to the next level.
Join Our Community
At Sweet Pea Stamps, we’re passionate about sharing our knowledge and expertise with fellow crafters. Join our community today and discover a world of creative possibilities!
Easy Popup Card Tutorial
I’m excited to share my favorite technique for making an easy popup card using Sweet Pea Stamps. As a crafter and DIY enthusiast, I love experimenting with new ideas and techniques to bring my creations to life. In this tutorial, we’ll explore how to create a beautiful popup card using simple folds and clever design tricks.
Materials Needed:
- Sweet Pea Stamps paper or cardstock
- Craft knife or scissors
- Ruler or straightedge
- Pencil or marker
- Glue or adhesive
- Optional: embellishments, ribbons, or other decorations
Step 1: Design Your Card
To start, sketch out your card design on a piece of paper or cardstock. Consider the size and shape of your card, as well as any embellishments or decorations you’d like to include. For this example, let’s create a standard A2-sized card with a rectangular shape.
Step 2: Cut Out Your Card Base
Using your craft knife or scissors, carefully cut out your card base along the edges of your design. Make sure to leave a small margin around the edges to allow for folding and gluing.
Step 3: Create the Popup Mechanism
Fold the top layer of your card in half lengthwise, creating a crease in the middle. Then, fold the bottom layer up towards the top layer, creating a second crease. This will form the basic shape of your popup mechanism.
Step 4: Add Depth and Dimension
Using your pencil or marker, draw a series of gentle curves along the edges of your card, starting from the center crease and working your way outward. These curves will help create the illusion of depth and dimension on your card.
Step 5: Assemble Your Card
Using glue or adhesive, attach the top and bottom layers of your card together, making sure to align the edges carefully. Allow the glue to dry completely before handling your card.
Step 6: Embellish and Decorate
Finally, add any embellishments, ribbons, or other decorations to your card to give it a personal touch. You can use Sweet Pea Stamps products, such as stickers, washi tape, or die-cuts, to add visual interest and texture to your design.
Tips and Variations:
- Experiment with different folds and shapes to create unique popup mechanisms.
- Use a variety of materials, such as patterned paper or textured cardstock, to add visual interest to your card.
- Consider adding a message or sentiment to your card using a marker or pen.
By following these simple steps and tips, you can create a beautiful and eye-catching popup card using Sweet Pea Stamps. Happy crafting!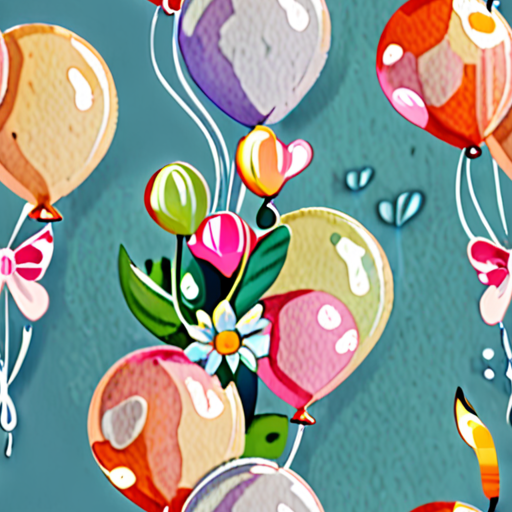
Make Your Card Stand Out
Adding a personal touch to your handmade cards can elevate the recipient’s experience and make it truly special.
- Pick a Theme
- Experiment with Colors
- Add Dimension with Texture
- Create a Focal Point
- Play with Shapes and Patterns
- Embellish with Die-Cuts
- Get Creative with Folding Techniques
- Personalize with Hand-Drawn Elements
- Balance with Negative Space
- Finishing Touches
Choose a theme that resonates with the occasion or the recipient’s interests. This will help guide your design decisions and ensure the card feels cohesive.
Don’t be afraid to think outside the box when it comes to color combinations. Consider pairing bold hues with pastels or metallic accents to add visual interest.
Incorporate different textures, such as embossing, debossing, or die-cutting, to give your card depth and visual appeal.
Designate a central element, like a large image or a decorative border, to draw the viewer’s attention and create a sense of balance.
Mix and match geometric shapes, florals, or abstract patterns to add visual intrigue and keep the design engaging.
Die-cuts can add a professional touch to your card. Use them to cut out intricate designs, shapes, or even custom images.
Explore different folding methods, such as accordion folds or pop-up mechanisms, to create a unique and interactive experience.
Add a personal touch by incorporating hand-drawn elements, like doodles or watercolor illustrations, to make the card feel more intimate.
Avoid clutter by balancing busy elements with negative space. This will create a clean and visually appealing design.
Add a final flourish with embellishments like rhinestones, sequins, or stickers to give your card a polished look.
Make Your Card Stand Out
To create a truly memorable business card, consider incorporating unique design elements or special print treatments that set yours apart from the rest. One effective way to achieve this is by adding foil accents or embossed gloss, which can give your cards a sophisticated shine and a raised, glossy coating, respectively, resulting in a 3D-like effect.
As a crafter and DIY enthusiast, I understand the importance of standing out in a crowded market. At Sweet Pea Stamps, we offer a variety of creative resources and tools to help you take your craft game to the next level.
- Add a personal touch with custom illustrations or graphics that reflect your personality or brand.
- Incorporate textured elements, such as debossing or spot varnishing, to add depth and visual interest.
- Experiment with unconventional shapes or sizes to make your card truly one-of-a-kind.
- Consider using eco-friendly materials or recycled paper to appeal to environmentally conscious customers.
When designing your business card, remember to balance creativity with professionalism. A well-designed card should accurately reflect your brand’s image and values while also making a lasting impression on potential clients or partners. By incorporating these tips and staying true to your unique style, you’ll be well on your way to creating a business card that truly stands out from the crowd.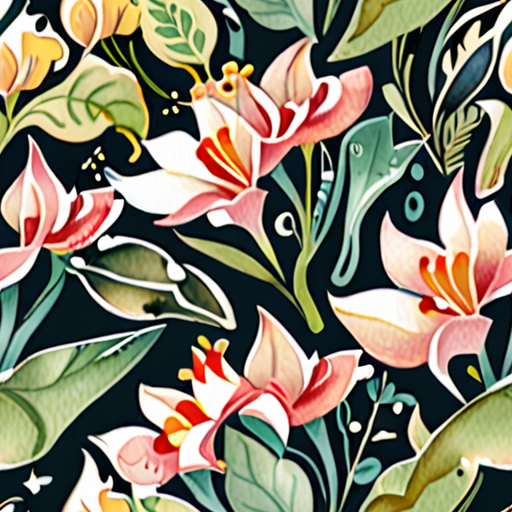
How to Spruce Up a Card
I’m excited to share my favorite ways to decorate handmade cards, and I hope these ideas inspire you to get creative!
-
Embellish with Washi Tape
You can use washi tape to add stripes, polka dots, or other patterns to your card. Simply cut the tape into strips and apply it to your design.
-
Add Dimension with Die-Cuts
Die-cuts can add a fun and playful touch to your card. Use a die-cut machine or scissors to cut out shapes and designs from paper or cardstock.
-
Incorporate Ribbons and Bows
Ribbons and bows can add a beautiful finishing touch to your card. Choose from a variety of colors and textures to match your design.
-
Get Crafty with Stickers
Stickers can be a great way to add visual interest to your card. Look for stickers in a variety of shapes, sizes, and designs to match your theme.
-
Create a Background with Patterned Paper
Patterned paper can be a great way to add texture and interest to your card. Choose from a variety of patterns, such as stripes, polka dots, or florals.
-
Add a Personal Touch with Photos
Photos can be a wonderful way to make your card extra special. Consider adding a photo of the recipient or a special memory you’ve shared together.
-
Make it 3D with Foam Tape
Foam tape can be used to create a 3D effect on your card. Apply the tape to the back of a design element and attach it to the front of the card.
-
Use Markers and Colored Pencils
Markers and colored pencils can be used to add color and detail to your card. Experiment with different techniques, such as layering or blending colors.
-
Incorporate Nature Elements
Nature elements, such as leaves or flowers, can add a beautiful and organic touch to your card. Consider using real or artificial elements.
-
Try Faux Stamping
Faux stamping involves using ink pads or markers to create a stamped look without actually using a stamp. This technique can be a great alternative to traditional stamping.
-
Experiment with Texture
Texture can add a lot of interest to your card. Try using different materials, such as fabric, lace, or burlap, to create a unique texture.
-
Don’t Forget the Envelope
The envelope is often overlooked, but it can be a great opportunity to add some extra flair to your card. Consider decorating the envelope with stamps, stickers, or ribbons.
Conclusion
Sprucing up a card doesn’t have to be complicated or time-consuming. With these simple tips and tricks, you can take your handmade cards to the next level and make them truly special. Whether you’re a seasoned crafter or just starting out, I hope these ideas inspire you to get creative and have fun making cards!
0 Comments