Discover the world of DIY embossing techniques and unlock your creativity with simple, easy-to-follow methods for creating stunning paper designs without the need for expensive machines. From substituting embossing tools to mastering the art of dry embossing, our comprehensive guide covers everything you need to know to get started with DIY embossing. Learn how to prepare your surface, execute the embossing process, and finish your creations with professional-looking results. Perfect for beginners looking to explore their artistic side, our step-by-step guide provides valuable insights and expert tips to help you take your DIY embossing skills to the next level.
DIY embossing techniques have become increasingly popular among crafters and artists, offering a unique way to add texture and depth to paper designs. With the right materials and tools, anyone can create beautiful embossed artwork at home. In this article, we’ll delve into the basics of embossing, exploring what can be used as substitutes for traditional embossing tools, and providing expert advice on how to achieve professional-looking results.
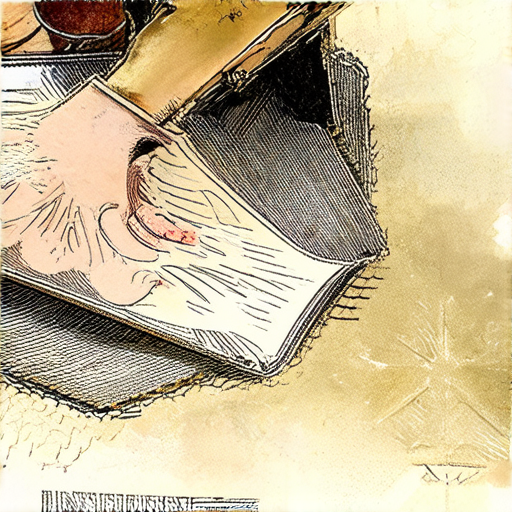
Alternatives to Embossing Tools
If you’re looking for substitutes for an embossing tool, here are some options:
- Ball Point Pen: A ball point pen can be used as a makeshift embossing tool. To avoid leaving behind pen marks, remove the ink from the pen before using it. Be cautious when applying pressure to prevent poking holes in your paper.
- Toothpick: In a pinch, a toothpick can be used to create an embossed effect. However, exercise extreme care to avoid damaging your paper.
- Ruler or Pencil: Using a ruler or pencil can help create a simple embossed design. Apply gentle pressure to the surface, moving the object in a smooth motion to achieve the desired effect.
- Embossing Stamps: Embossing stamps can be purchased online or at craft stores. These pre-made designs can save time and effort compared to using alternative tools.
- Heat Embossing Tool: A heat embossing tool uses heat to raise the design onto the surface. This method requires special equipment and materials but produces professional-looking results.
- Die-Cutting Machine: Die-cutting machines can be used to cut intricate shapes into paper or cardstock. Some models come with built-in embossing capabilities, allowing for a combination of cutting and embossing.
- Foam Stickers or Dies: Foam stickers or dies can be used to create embossed effects without the need for specialized tools. Simply apply the sticker or die to the surface and press down gently.
When choosing a substitute for an embossing tool, consider the type of project you’re working on, the desired level of detail, and the materials involved. Experiment with different alternatives to find the most effective solution for your needs.
Embossing at Home Without a Machine
Embossing is a decorative technique that involves raising patterns or designs onto a surface using heat and pressure. While traditional embossing machines can be expensive, there are alternative methods to achieve this effect at home without investing in specialized equipment.
**Simple DIY Embossing Techniques for Beginners**
- Prepare Your Materials: Gather the necessary materials, including a sheet of thick paper or cardstock, a design or pattern to emboss, ink or paint, a brayer or roller, and a heat source.
- Create a Design: Create a design or pattern that you want to emboss onto the paper. You can use a stencil, draw it freehand, or print one out. Make sure the design is reversed, as you’ll be applying the ink or paint to the back of the paper.
- Apply Ink or Paint: Apply a thin layer of ink or paint to the back of the paper, making sure to cover the entire area where you want to emboss. You can use a brush or a brayer to apply the ink or paint evenly.
- Heat and Press: Place the paper under a heat source, such as a hair dryer or a heat gun, and press down firmly with a heavy object. Hold the heat source about 6 inches away from the paper and move it slowly back and forth to ensure even heating.
- Repeat and Refine: Repeat the process several times, adjusting the heat and pressure as needed to achieve the desired effect. You may need to experiment with different temperatures and pressures to get the desired result.
Some popular alternatives to traditional embossing machines include:
Sweet Pea Stamps, which offers a range of embossing tools and supplies for crafters and DIY enthusiasts. For example, their embossing tools come in a variety of shapes and sizes, allowing you to create intricate designs and patterns with ease.
Additionally, you can find many tutorials and guides online that demonstrate how to emboss at home without a machine. Some popular websites for learning new crafting skills include Craftsy, YouTube, and Pinterest.
Benefits of DIY Embossing Techniques
DIY embossing techniques offer a range of benefits for crafters and DIY enthusiasts. These include:
- Cost-effective: Unlike traditional embossing machines, DIY embossing techniques require minimal investment in equipment and supplies.
- Customizable: With DIY embossing techniques, you have complete control over the design and pattern of your embossed artwork.
- Portable: DIY embossing techniques are often portable, allowing you to take your craft on the go.
- Fun and creative: DIY embossing techniques can be a fun and rewarding hobby, allowing you to express your creativity and bring your ideas to life.
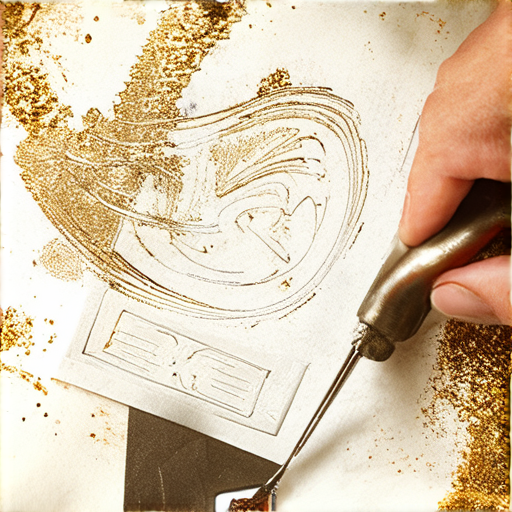
Embossing Something at Home: A Step-by-Step Guide
Embossing is a fun and creative way to add texture and visual interest to various materials, such as paper, fabric, and even metal. With a few simple tools and some basic techniques, you can create beautiful embossed designs at home.
Embossing Something at Home: A Step-by-Step Guide
- Prepare Your Surface: Before embossing, make sure your surface is clean and dry. If you’re working with paper, you can lightly dust it with talcum powder or cornstarch to prevent the embossing ink from sticking.
- Choose Your Design: You can either freehand your design or use a stencil or template to create intricate patterns. Keep in mind that simpler designs work better for beginners.
- Select Your Embossing Tool: There are several types of embossing tools available, including embossing pens, heat tools, and embossing machines. For this project, we’ll focus on using an embossing pen and heat tool.
Choosing the Right Embossing Tool for Your Needs
When selecting an embossing tool, consider the type of material you’re working with and the desired effect. Embossing pens are great for delicate designs and small areas, while heat tools offer more versatility and control.
You can find embossing pens and heat tools at various craft stores, both online and in-person. Some popular options include:
Tips for Selecting the Best Embossing Ink
Embossing ink comes in a range of colors and finishes, so it’s essential to choose the right one for your project. Consider the color palette and style of your design when selecting an ink.
Some popular brands of embossing ink include:
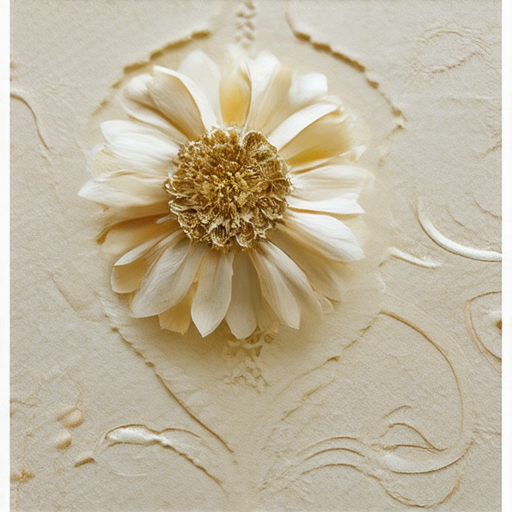
Preparing Your Surface for Embossing
Dry embossing, a versatile cardmaking technique, requires a well-prepared surface to achieve professional-looking results. In this section, we’ll explore how to prepare your paper for embossing and troubleshoot common issues.
How to Prepare Your Paper for Embossing?
To start, choose a paper with a smooth finish, ideally made from cotton or linen fibers. Avoid using glossy or textured papers, as they may interfere with the embossing process. For added stability, consider using a paper weight of around 80-100 gsm.
Learn more about paper weights and their impact on embossing results.
Essential Steps for Creating a Smooth Embossed Finish
Before embossing, ensure your paper is free from dust, dirt, or other debris. Gently wipe the surface with a soft brush or a lint-free cloth to remove any impurities. Next, apply a small amount of embossing powder or adhesive to the design area, following the manufacturer’s instructions.
For a smoother finish, try using a brayer or a foam applicator to distribute the powder evenly. Experiment with different techniques, such as layering or blending, to achieve the desired effect.
Troubleshooting Common Issues with Embossing Surfaces
One common issue with embossing surfaces is unevenness or bubbles. To resolve this, try adjusting the pressure or applying more or less powder, depending on the situation.
Another potential problem is excessive powder buildup, which can lead to a rough or uneven finish. To prevent this, use a gentle touch and work in thin layers, allowing each layer to dry before adding more.
Watch our video tutorial on troubleshooting common embossing issues.
Best Practices for Ensuring Even Embossing Results
To achieve consistent results, invest in a high-quality embossing tool or die-cut machine. Regular maintenance, such as cleaning and lubricating the tool, will also help ensure smooth operation.
When working with different materials, test the embossing process beforehand to determine the optimal settings and techniques. This will save you time and frustration in the long run.
Discover more tips and tricks for achieving perfect embossing results.
How to Achieve Professional-Looking Embossed Designs
The key to achieving professional-looking embossed designs lies in attention to detail and patience. Take your time to carefully plan and execute each step, and don’t be afraid to experiment and try new things.
By mastering the art of dry embossing, you’ll unlock a world of creative possibilities and take your paper crafts to new heights.
Executing the Embossing Process
Dry embossing by hand requires patience, practice, and attention to detail. With the right tools and techniques, you can create stunning designs on various materials.
How to Dry Emboss by Hand
- A stylus or embossing tool with a pointed tip is essential for dry embossing. You can find these tools at art supply stores or online.
- A stencil or template with the desired design is also crucial. You can find stencils online or create your own using cardstock or acetate.
- Paper and fabric are popular choices for dry embossing due to their ease of use and versatility.
- To ensure success, choose a suitable material and prepare it accordingly. Smooth paper and ironed fabric are ideal for dry embossing.
Step-by-Step Guide to Dry Embossing
- Hold the stylus or embossing tool at a 45-degree angle to the material and place it on the center of the design, applying gentle pressure.
- Slowly move the stylus along the design, maintaining consistent pressure and keeping the stylus perpendicular to the material.
- Apply varying amounts of pressure to create different textures and depths.
- Experiment with different speeds to achieve the desired level of detail.
- Repeat the process multiple times to achieve the desired level of detail and texture.
Troubleshooting Common Issues
Some common issues that may arise during the dry embossing process include:
- Uneven pressure: Adjust the pressure applied to the stylus to achieve a more even distribution of force.
- Incorrect material: Try using a different material or adjusting the preparation method to achieve better results.
- Inconsistent results: Experiment with different techniques or tools to achieve the desired outcome.
Advanced Techniques for Customizing Your Embossing Designs
With practice and experimentation, you can develop advanced techniques to customize your embossing designs. Some tips include:
- Using different materials: Experiment with various materials, such as foil or metallic paper, to add depth and interest to your designs.
- Varying pressure and speed: Adjust the pressure and speed of the stylus to achieve unique textures and effects.
- Combining techniques: Combine dry embossing with other techniques, such as stamping or layering, to create complex and intricate designs.
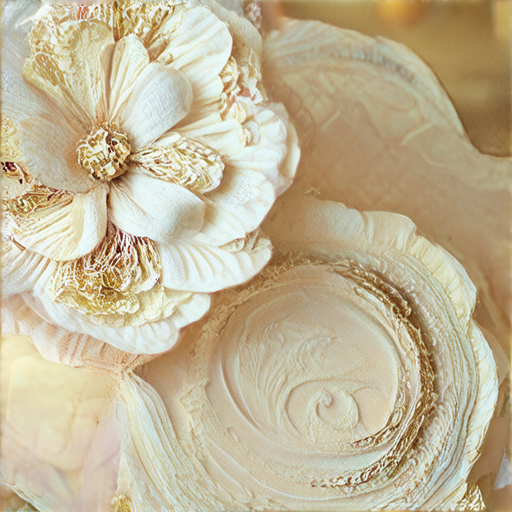
Finishing Touches and Displaying Your Work
What Kind of Powder is Used for Embossing?
Embossing powder is a specialized type of powder used in various crafting techniques, particularly in heat embossing. At Sweet Pea Stamps, we recommend using a high-quality embossing powder that suits your project’s requirements.
- Our selection of embossing powders includes a range of colors and finishes to suit your creative needs.
- When choosing an embossing powder, consider factors such as the desired color palette, texture, and finish.
- Experimenting with different types and brands can help you find the perfect powder for your specific needs and projects.
Creative Ways to Display Your Embossed Artwork
Once you’ve completed your embossed artwork, it’s essential to display it proudly. Here are some creative ways to showcase your masterpiece:
- Frame it: Use a beautiful frame to highlight your embossed artwork and add a touch of elegance to your space.
- Mount it: Consider mounting your embossed artwork on a canvas or board to create a unique piece of wall art.
- Use a shadow box: A shadow box can add depth and dimension to your embossed artwork, making it stand out in a room.
Ideas for Incorporating Embossing into Your Crafting Projects
Embossing is a versatile technique that can be incorporated into various crafting projects. Here are some ideas to get you started:
- Card making: Add embossed details to your handmade cards to give them a personal touch.
- Scrapbooking: Use embossing to create intricate designs and patterns in your scrapbook pages.
- Paper crafting: Experiment with embossing to create unique textures and effects in your paper crafts.
Tips for Enhancing the Durability of Your Embossed Pieces
To ensure your embossed pieces last longer, follow these tips:
- Seal with varnish: Apply a coat of varnish to protect your embossed artwork from dust and damage.
- Use acid-free materials: Choose acid-free papers and materials to prevent yellowing or degradation over time.
- Handle with care: Avoid touching or handling your embossed artwork excessively to prevent oils from your skin from damaging the powder.
How to Showcase Your Embossed Masterpieces
Finally, show off your embossed masterpieces to the world! Here are some ideas to get you started:
- Share on social media: Post pictures of your embossed artwork on social media platforms to share with friends and family.
- Enter contests: Enter embossing-related contests or challenges to showcase your skills and gain recognition.
- Teach others: Share your knowledge and skills by teaching others how to emboss and create stunning artworks.

0 Comments